In the digital age, high-quality product photography is essential for businesses looking to make an impact online. Whether you're an e-commerce entrepreneur, a small business owner, or a hobbyist looking to showcase your creations, understanding how to take stunning product photos at home can significantly enhance your brand's visibility and appeal. This guide will delve into the intricacies of product photography, providing you with actionable tips and techniques to elevate your images from ordinary to extraordinary.
- Understanding the Basics of Product Photography
Before diving into the technical aspects, it's crucial to grasp the fundamental principles of photography. Product photography is not just about capturing an image; it's about telling a story and highlighting the unique features of your product. Here are some key concepts to consider:
- Lighting: The cornerstone of any great photograph. Natural light is often the best option for product photography, as it provides a soft, even illumination that enhances colors and textures. If shooting indoors, position your product near a window during the day to take advantage of this natural light.
- Composition: The arrangement of elements within your frame can make or break your photo. Use the rule of thirds to create a balanced composition, and consider the background and foreground elements that will complement your product.
- Focus and Depth of Field: Ensure your product is in sharp focus, while the background remains slightly blurred to draw attention to the subject. This technique, known as shallow depth of field, can be achieved by using a wide aperture setting on your camera.
- Setting Up Your Home Studio
Creating a dedicated space for product photography can significantly improve the quality of your images. Here’s how to set up an effective home studio:
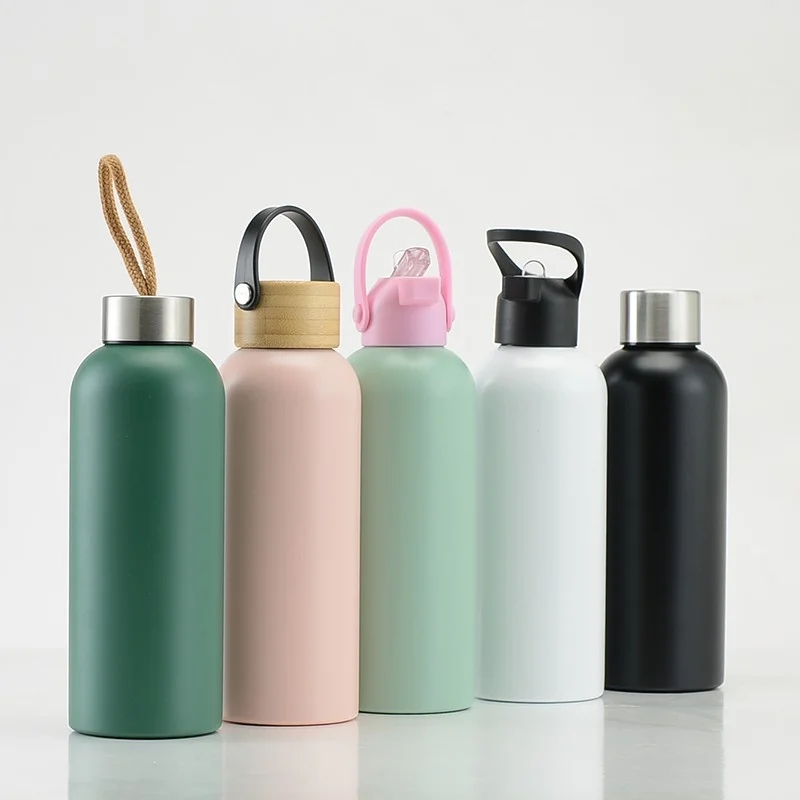
- Background: Choose a clean, uncluttered background that enhances your product. White or neutral-colored backdrops are popular choices, as they allow the product to stand out. You can use a roll of seamless paper, a fabric backdrop, or even a large piece of cardboard.
- Lighting Equipment: If natural light isn't available, consider investing in affordable lighting equipment. Softbox lights or LED ring lights can provide consistent illumination and reduce harsh shadows. Position your lights at 45-degree angles to your product for optimal lighting.
- Tripod: A tripod is essential for maintaining stability and preventing camera shake, especially in low-light conditions. This will help you achieve sharper images and allows for longer exposure times without blurring.
- Camera Settings and Techniques
Understanding your camera settings is crucial for capturing high-quality product photos. Whether you're using a DSLR, mirrorless camera, or even a smartphone, here are some settings to consider:
- ISO: Keep your ISO as low as possible (100-200) to reduce noise in your images. Increase the ISO only if necessary, such as in low-light situations.
- Aperture: A wider aperture (lower f-stop number) will create a shallow depth of field, while a narrower aperture (higher f-stop number) will keep more of the image in focus. Experiment with different settings to find the right balance for your product.
- Shutter Speed: Use a slower shutter speed for better exposure in low-light conditions, but ensure your camera is stable to avoid motion blur. If you're shooting handheld, aim for a shutter speed of at least 1/60 seconds.
- Styling Your Products
Product styling is an art that can enhance the visual appeal of your images. Here are some tips for effective styling:
- Props: Use props that complement your product without overwhelming it. For example, if you're photographing jewelry, consider using a simple stand or a textured fabric as a backdrop.
- Color Coordination: Choose colors that harmonize with your product. This can create a cohesive look and evoke specific emotions in your audience.
- Angles and Perspectives: Experiment with different angles and perspectives to showcase your product's features. Capture close-ups, wide shots, and various viewpoints to provide a comprehensive look at your product.
- Post-Processing Techniques
Once you've captured your images, post-processing can take your photos to the next level. Here are some essential editing techniques:
- Cropping and Straightening: Crop your images to eliminate distractions and focus on the product. Straighten any tilted images to ensure a professional appearance.
- Color Correction: Adjust the brightness, contrast, and saturation to make your product look its best. Ensure that the colors in your images accurately represent the actual product.
- Retouching: Use editing software to remove any blemishes or distractions in the image. This can include dust, scratches, or unwanted reflections.
Conclusion
Taking high-quality product photos at home is an achievable goal with the right knowledge and tools. By understanding the basics of photography, setting up a dedicated space, mastering camera settings, styling your products effectively, and utilizing post-processing techniques, you can create stunning images that captivate your audience and elevate your brand. Remember, practice makes perfect, so keep experimenting and refining your skills to achieve the best results. Happy shooting!
